Hello, hello!
I'm back! I know I've been a way for a little while (two months is only a little while, right?) but I have been insanely busy.
One new thing that I would like to share with you is my gorgeous baby, Chanel.
Isn't she beautiful? I just love her so much. No more sewing by hand, and no more bandaids for my boo-boos. I am one happy refashionista!
Speaking of refashioning, remember those terrible, horrible clothing pieces that I had you vote on? The winner (unsurprisingly) was the ugly green shirt.
I tried so hard to create a really cute top. But here is how it ended up.
Yep, despite my best efforts, I ruined a refashion. There is absolutely no fixing it, and the more I think about it, the more upset I get. I thought for sure it would work... Ugh.
I also need to start working on Christmas presents. I know, I know, I'm still procrastinating. Don't rub it in. :P
But I decided, if I'm going to make everyone's gifts this year, I'd like to make it fun for you all to see. So I am doing a Christmas challenge. I am so excited to share it with you all, but that will have to wait for the next blog post..... (suspense setting in yet?).....
Anyway, I'm still working at my sewing job, and since the holidays are coming, we have been ridiculously busy. I've been working anywhere from eight to eleven hours a day, and have been really tired when I come home. I have so many ideas for refashions, but I hardly have the time anymore.
But I decided, when you love what you do, it's not finding the time that matters, it's MAKING the time.
So today, since I had the day off, I decided that I was going to make the time to share a refashion that I think is really cool, and really important (at least to me).
If you live anywhere near Ohio, you understand the crazy weather we have been having. We have been getting snow, freezing temperatures, and rain. It's been difficult to keep up with Mother Nature lately, but one thing hasn't changed- it's really, really cold outside.
If you're like me, you can't stand when your feet or toes get cold. I can enjoy time outside until my piggies are froze, then I'm ready for some hot chocolate and a blanket.
Today I have decided to share with you a little refashion that will keep ya nice and warm in this weird weather.
I started with this odd, burnt orange colored shirt.
It's not a bad shirt, but I really have no use for it. The color is a little odd, and after closer inspection, I realized....
It has shoulder pads. A tee shirt... with shoulder pads. Uhm, what?!
Anywho, I decided I could turn this weird thing into something a little more practical.
First, I made a big chop.
Bye bye, shoulder pads. Catch you later!
I then slipped my foot inside the fabric, and began pinning the fabric around the shape of my legs.
After I had pinned from knee to ankle, I cut off the extra fabric.
After I had chopped the extra away, I followed the steps again, but on the other leg.
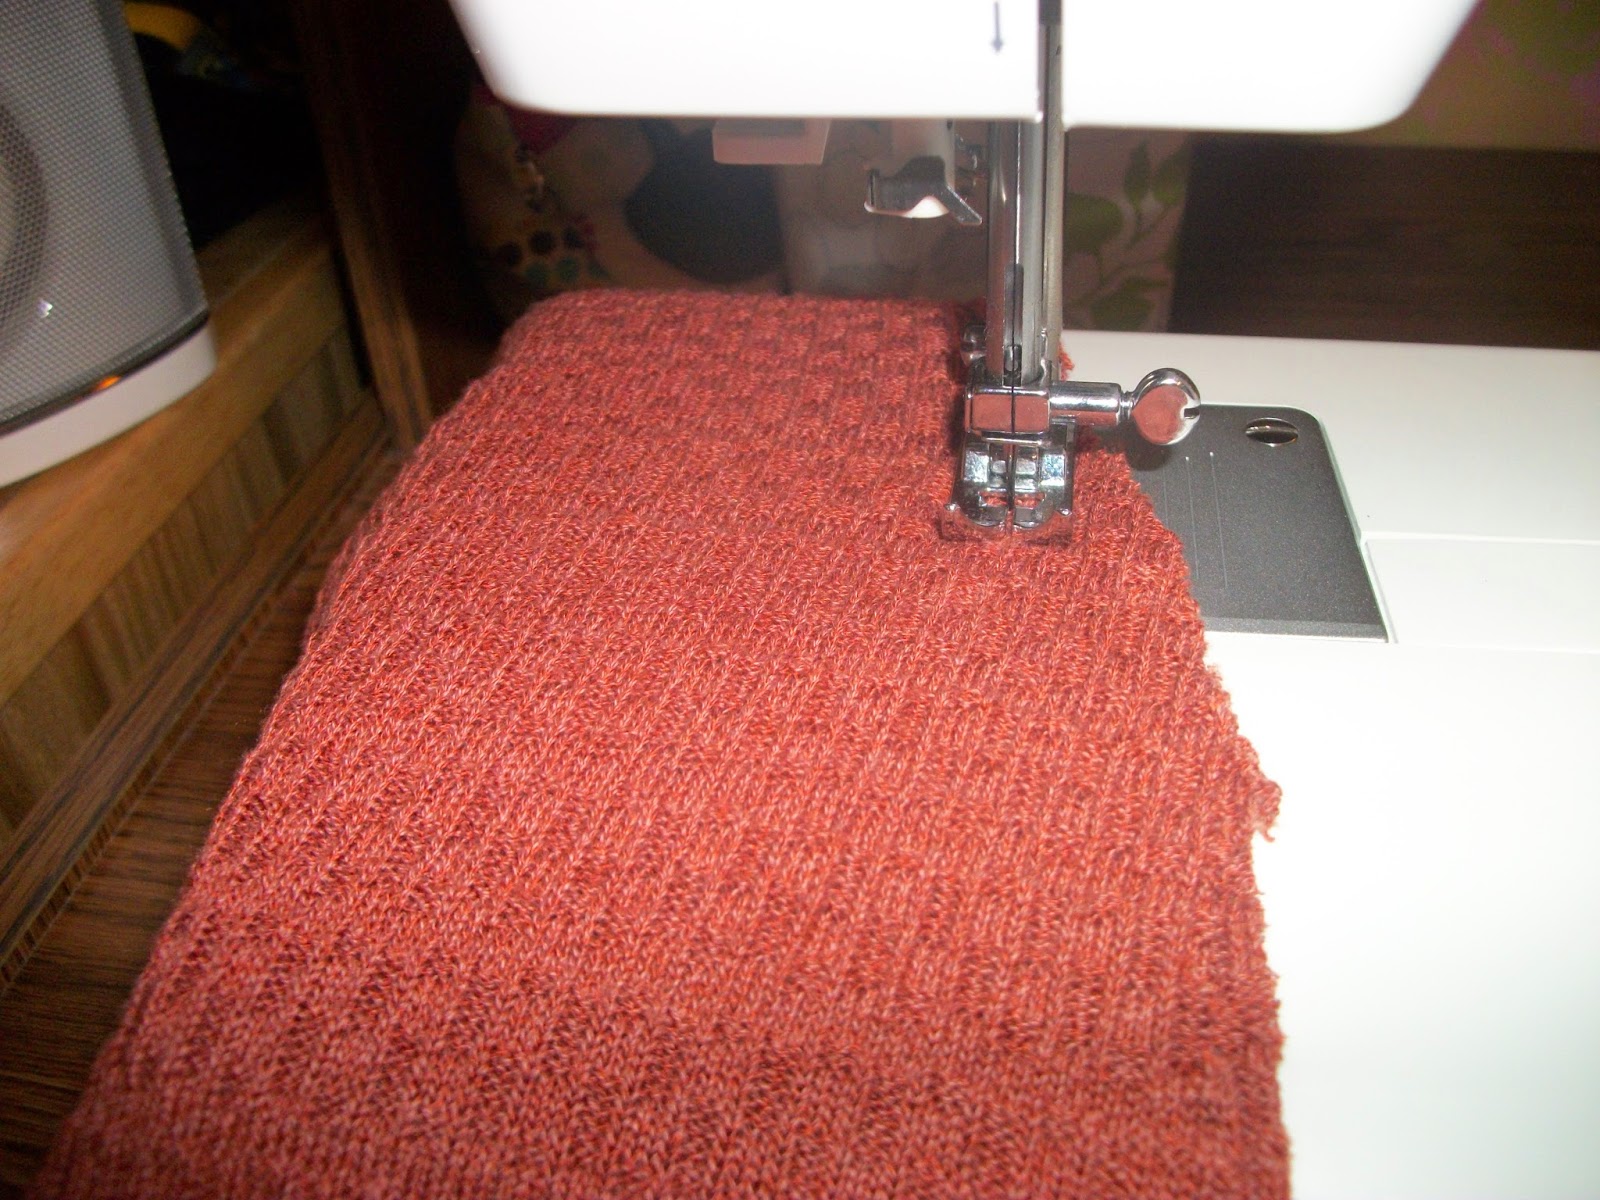
I then threw the fabric under my darling Chanel, and got to sewing.
Now, most of you are probably wondering what in the world it is I made.
Allow me to show you.
One of the worst things about winter is fighting with your pants while trying to tuck them into your boots. I spend at least five minutes every morning trying to tuck in my pants. They end up poofy at the bottom, or feel uncomfortable.
Not anymore.
First, put on your pants. It's too cold to go naked.
Ahh, already feeling warmer. Next, slide your new boot cuffs over you pants...
...like so. Lastly, put your boots on.
See? Wasn't that wayyy easier?
You can fold your boot cuffs to be any size you'd like. I made my long so I could either wear them over my pants for a pop of color, or under my pants to keep my little legs warm.
Even though the cuffs are a darker color, I thought it'd look cute to mix it with a cream colored top.
Can you see them?
So what do you think? Are you happy I'm back? Are you ready to hear about my Christmas challenge? Leave your thoughts in the comments below.
xoxo
Hello, hello!
When my awesome wifey asked me to go with her and her mom for her final wedding dress fitting, I was stoked! I couldn't wait to see what she looked like. But speaking of looks, I had no idea what to wear for this exciting visit.
Time to shop my refashion closet.
I emerged from my piles of clothes with this.
There's my foot for reference. This is a big piece of fabric that, as you can see, has the word "Bahamas" written all over it. The colors are cute, and the pattern is fun, so I decided to turn it into a top.
I started by folding the fabric in half.
Then I measured the length of the fold.
Now, the last time I measured and did some math, I got a few emails asking me to better explain how I did it. For this refashion, I wrote down every step I did, so hopefully it makes the terrible math a little more understandable.
I took a shirt that I like the fit of...
And measured it's neckline.
Then I wrote everything down.
Here's a snap shot of the stuff I wrote down.
The folded over fabric was 47.25 inches in length. The t-shirt's neckline was 7 inches in length and 4 inches deep (I drew you little figures to show what I mean).
Next I had to do a little math (eww, math).
Once I divided the length of the fabric, I was able to find the exact middle.
I placed a pin there so I knew where the middle of the piece was.
I think that snap shot is self explanatory...
I pinned the sides of my neckline so I'd know where to cut.
Next, since the neckline is four inches deep, I measured four inches down from the middle pin.
Then I measured two inches down from the side pins, just to help me make a good neck shape.
Whew, now that all that math is over, let's get to the good stuff!
Using my teeny baby scissors, I cut out that neckline, and touched up a few of the rougher spots.
At this point I tried on the weird, poncho- like fabric. An awesome dance party ensued.
Today's stank face and dance number is brought to you by my iPod, and the lovely Lady Gaga.
After the solo dance party, I pinned my old shirt to the front of the fabric.
Then I started chopping off the extra fabric, creating the outline of a shirt.
Why, hello there, sleeves.
Hi, side!
I was left with something like this.
Next I pinned the sides of the shirt, and the sleeves, and got to sewing.
Pin....
And sew!
After I had sewn everything up, I cut off the extra fabric and tossed on my new tunic.
I love it so much. It's really comfy, and the fabric was light and breezy, which was perfect for the warm day.
Wifey!
Much needed nom noms.
So what do you think? Was the math a little better this time? Leave your thoughts in the comments below!
Hello, hello!
Today I decided to get a little brave, and finally use my Rit Dye. I'm very happy with the results, so let's get going!
Today's piece started out as this... strange... night gown... thing?
Where to start with this... I hate the pattern, the length is terrible, and what is up with the collar and sleeves? Was someone really, REALLY cold when they went to bed? Were they living in an igloo? Geez.
This thing put me in such a bad mood. Something had to be done. I couldn't stand having this thing in my closet anymore. I'm pretty sure it stared at me when I looked for clothes in the morning.
I started by removing that terrible collar.
Dear goodness. I already felt a little better once that thing was gone, but I had to get rid of those sleeves too.
I promise, you will not be missed at all.
Next I took off some of that horrible length.
I was feeling really brave today. I haven't dyed any clothing yet because I have been a little nervous. I didn't know where to dye the clothes at, I was worried it would stain something, and I didn't want to make the father angry.
But today, I threw caution to the wind. I grabbed a box of navy blue dye, and got to work.
I followed the instructions on the website, filled a bucket with hot water, added the dye, and shoved the terrible night gown inside.
I played the waiting game for 20 minutes, then wrung out the night gown, and threw it in the washer.
After a little run through the washer and dryer, I was surprised to see two things.
Number one, there was some terrible fraying going on, and number two, it wasn't navy blue at all...
It was purple.
But these two unexpected outcomes didn't stop me. I was feeling pretty good about not having such an ugly night gown anymore, so I didn't pout much. I just kept working.
I took out my trusty scissors and got to chopping off the longer fringe pieces, and that mystery white stuff.
Snippity snip. While I was chopping off the pieces, I realized how much I really liked the fringe on the bottom of the dress. That inspired me to make a piece to go along with this now- purple outfit.
I took a large scrap that I had left over, and started amputating.
I took the middle piece and cut it into two.
Then I took those two, and chopped them in half. I was left with these four pieces.
I wasn't too worried about the pieces being perfect. The crazier, the better.
I pinned the pieces together, and got to sewing.
Yep, I'm sewing on my knee. It's a terrible idea. I now have a bandaid on the kneecap. Ouchy :(
Anywho, when I was done sewing the pieces together, I was left with a fairly long strip of black fabric.
I took the ends, and cut little strips into them, pulling on them as I went so they would twirl a little bit.
Once I had my fringed sash finished, I tied it around my waist, tossed on my favorite booties and a (new!) black, dangle necklace and was finished.
Look at that horrible nighty now.
I love this fringe outfit. I'm actually happy the color ended up being purple instead of blue. And you can't even see the ugly pattern anymore.
I love the accessories for this outfit. I feel like the dangle star necklace adds a little punk-ish vibe to the fringe. LOVE IT!
So what do you think? Should I dye the clothes from now on? Let me know in the comments below :)